jQuery tips: Rounded corners for osCommerce boxes
multimixer | learn | Wednesday September 28 2011Here is a quick and easy way to add rounded corners to your osCommerce boxes using jQuery and styling them with a couple of simple css rules
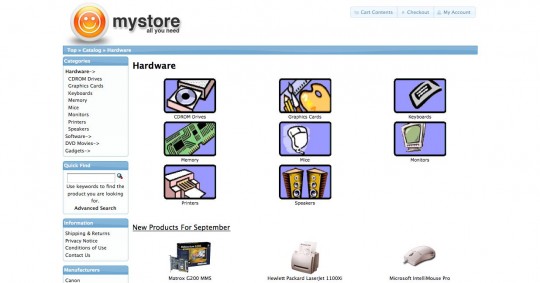
Here is how the boxes look by default
They have square corners and glue to each other. Lets go to change this. Please do not follow any advices posted in the osCommerce forum telling you that you have to go to several files changing this and that, or that you have to write huge blocks of css.
Things are much more simple, because of 2 facts
1) osCommerce uses a “jQuery UI” theme, and in it’s css there are already classes defined that will do rounded corners in any direction.
That classes are (names are self explanatory)
- .ui-corner-all
- .ui-corner-top
- .ui-corner-bottom
- .ui-corner-right
- .ui-corner-left
- .ui-corner-tl (tl = top left)
- .ui-corner-tr (tr = top right)
- .ui-corner-bl (bl = bottom left)
- .ui-corner-br (br = bottom right)
2) jQuery has a method called “addClass()“, that does exactly this: to add a css class to anywhere you want
Now after we know this, all we have to do is to add the ui class that creates rounded corners to the right element of the box using addClass()
All code snipsets I will add to file catalog/includes/footer.php (if not something else is mentioned) to here
<script type="text/javascript">
$('.productListTable tr:nth-child(even)').addClass('alt');
// here is where I add any jQuery code //
</script>
Mini template system users
please find the same part of code in file mts/themes/your_theme/files/includes/footer.php
Lets say you want to add rounded corners to the top of the box heading and to the bottom of the box content, so that the whole box looks like “rounded”. That what you need to add:
$("#columnLeft div.ui-widget-header, #columnRight div.ui-widget-header").addClass("ui-corner-top");
$("#columnLeft div.ui-widget-content, #columnRight div.ui-widget-content").addClass("ui-corner-bottom");
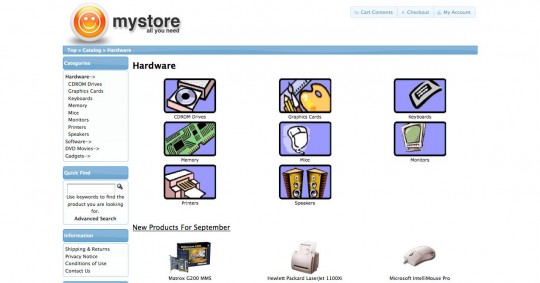
And this is the result
 For sure you noticed that I added also some space between the boxes, so that they don’t glue to each other. This I did by adding following to file catalog/stylesheet.css
#columnLeft .infoBoxContainer, #columnRight .infoBoxContainer {margin-bottom:10px; }
You can adjust of course the value of the margin as you like
Mini template system users, don’t need to add anything to anywhere since this is a admin setting. For questions please click the support link on top of your administration panel
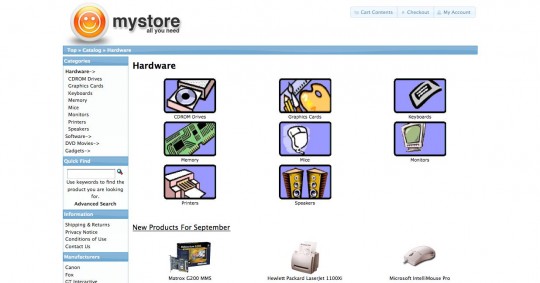
There are of course other possibilities to play with rounded corners, for example to add separate rounded corners to both, box heading and box content, like this:
 Just add to your footer (same location as before) following
$("#columnLeft div.ui-widget-header, #columnRight div.ui-widget-header").addClass("ui-corner-all");
$("#columnLeft div.ui-widget-content, #columnRight div.ui-widget-content").addClass("ui-corner-all");
To my stylesheet.css file I added folowing to make things a bit nicer
#columnLeft .infoBoxHeading, #columnRight .infoBoxHeading {
  margin-bottom:2px;
  padding:7px 2px;
}
You can of course add such a ronded corner only to the top left of the box heading or to anywhere you want. Go on and try it out
A possible question: How round are the rounded corners? This depends on the ui-widget theme you have installed. If you need an other corner radius, you can go to the themeroller page and create a new theme using any settings you like for the corners.
You may be interested to read about how to add a jQuery ui theme to your osCommerce store.


Hi there!
Love your instructions, easy and clear, but maybe due to the inexperience, i still require advise.
“For sure you noticed that I added also some space between the boxes, so that they don’t glue to each other. This I did by adding following to file catalog/stylesheet.css”
this is my foot.php
$(‘.productListTable tr:nth-child(even)’).addClass(‘alt’);
$(“#columnLeft div.ui-widget-header, #columnRight div.ui-widget-header”).addClass(“ui-corner-top”);
$(“#columnLeft div.ui-widget-content, #columnRight div.ui-widget-content”).addClass(“ui-corner-bottom”);
i tried adding your code “#columnLeft .infoBoxContainer, #columnRight .infoBoxContainer {margin-bottom:10px; }” but nothing happened.
what did i do wrong?
thanks!
Hi Gen, nihao
The css code (what you tried to add and that did nthing) is meant for the file catalog/stylesheet.css not file catalog/includes/footer.php
Just add the line to the bottom of file stylesheet.css and then adjust the margin to fit your needs
Thank you sir! a big “duh” for me. i did place it in .css not the foot, just placed the code wrong. “doh!”
thanks for the help!
yea, nihao~ haha!
Hi George,
Do you prefer using pure CSS instead of javascripts when possible?
Eddy
I’m thinking about tooltips by the way.
Cheers, Eddy
Hi Eddy
It’s not very clear what you mean. Tooltips can be achieved with or without any javascript, it depends on what you are after.
Thanks for your answer. Recently I’ve been reading lots of articles debating use of javascript in tooltips. It seems that it simply depends on what result I want to achieve. It’s that simple.
My second question: is there a “gray out” effect for jQuery buttons in osC 2.3.1? I do not want to remove the button to break the page layout when removing the function linked to the button, but I also feel that the button needs to look different so that the user is aware of it.
Thanks!
Thanks for providing this information, it really made my store look a lot better for how little there was to actually do. Quick question about it though:
I use IE 9 as my browser, to display the two graphs on the front page of my admin page I have to use the Compatibility View, but when I go to my store it cancels out the rounded corners. Have you ran into this problem before?
Thanks!
Hi I have installed locally with OSC 2.3.3 & MiniTemplates system and I can not round the corners. probe putting the code in the footer of the template I use and nothing comes out, that I can be at fault ? .
Hi Daniel
Hello Daniel
Since you are a mini template system user, you can get in touch directly per email for any questions
The file to put the code script code in is catalog/mts/themes/theme_base_001(or _002)/files/includes/footer.php
The code need to be within the tags
Please make sure you have it like this.
Please also note that the “rounding” effect depend on the selected ui theme and the border radius that it uses. If e.g., the ui theme has a border radius of 3 pixels, the boxes will get a “rounding” of 3 ixels, for an other ui theme with no rounding set, there will be no rounding for the boxes either
I believe this is among the such a lot vital info for me. And i’m glad reading your article. However wanna commentary on few basic issues, The website style is wonderful, the articles is truly excellent : D. Just right task, cheers
Hello,
thanks for your explanation for corners and separate box.
the problem is that I have this:
http://espiacenter.com/catalog/boxcorner.jpg
but I would like for him to be like your example.
Also (I do not abuse) I would like to know how you can distribute in header and footer box, as on this website:
http://www.lauradiazdefederico.es/catalog/index.php
sde greetings from Sitges (Barcelona)
thank you very much, really.
@ Sergi
In your stylesheet.css, line 66, you are adding a background as follows:
.infoBoxContainer {
background: none repeat scroll 0 0 #BDBFC2;
}
Please remove that
Also, you copied over everything from the above post, you need to decide where you want to have the corners, there is no reason to apply both hi-corner-top and hi-corner-all
Hello and thanks a lot, is there any way to make this work with IE 8 ?
Best regards
Hello Mark
Unfortunately, IE8 does not support the css properties that create rounded corners. There are however some workarounds for this, don’t have this very fresh in my memory right now, you could google for it
The rounded corners are lost in the Shopping Cart Info Box when something is added to the cart. The bottom 2 corners of the Shopping Cart Info box reverts back to non-rounded corners.
Yes this is true
The reason is in the way the shopping cart box is coded
- If the cart is empty, the box content is a div with class “ui-widget-content”
- if cart is full, the box content becomes a table with same class
Truth is, that this is a bit inconsistent, would be better to have the content wrapped into a div always and fill it with a table or anything further down
You can do this in file catalog/includes/modules/boxes/bm_shopping_cart.php
Thank you. I did change the table class to ‘ui-widget-content infoBoxContents ui-corner-bottom’
I don’t know if that’s the right way to do it but it seems to work now.
works a treat! thanks very much!!!
The latest MTS version (1.5.2) include settings for rounded corners, so this can be done easily in admin